
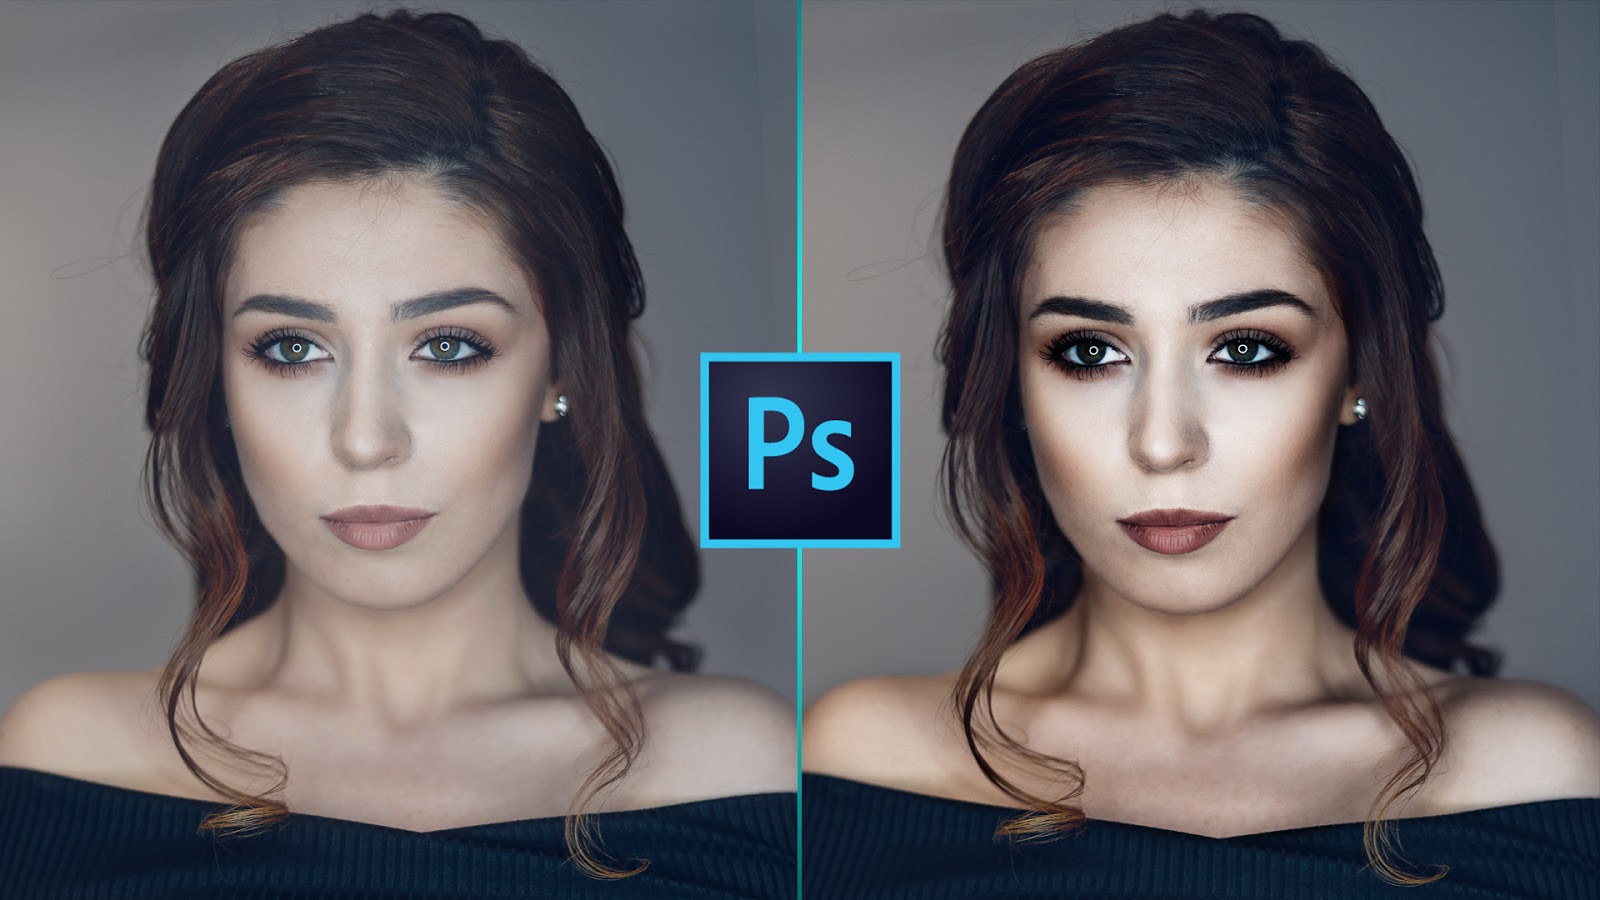
Using Dodge & Burn Tools to Make Black & White Images Pop
Using the Dodge and Burn Tools in Adobe Photoshop Using the Sponge Tool in Adobe Photoshop What to Know Duplicate the background layer containing the image. Select the Dodge, Burn, or Sponge tool. Paint over the image with the chosen tool. The Dodge tool lightens. The Burn tool darkens. The Sponge tool brightens or tones down color.
Dodging and Burning Pro Tips in Improve Photography
In Adobe Photoshop, use the Dodge tool and the Burn tool to lighten or darken areas of an image. The more you paint over an area with the Dodge or Burn tool, the lighter or darker it becomes.

Tutorial Dodge Tool and Burn Tool in CS6 YouTube
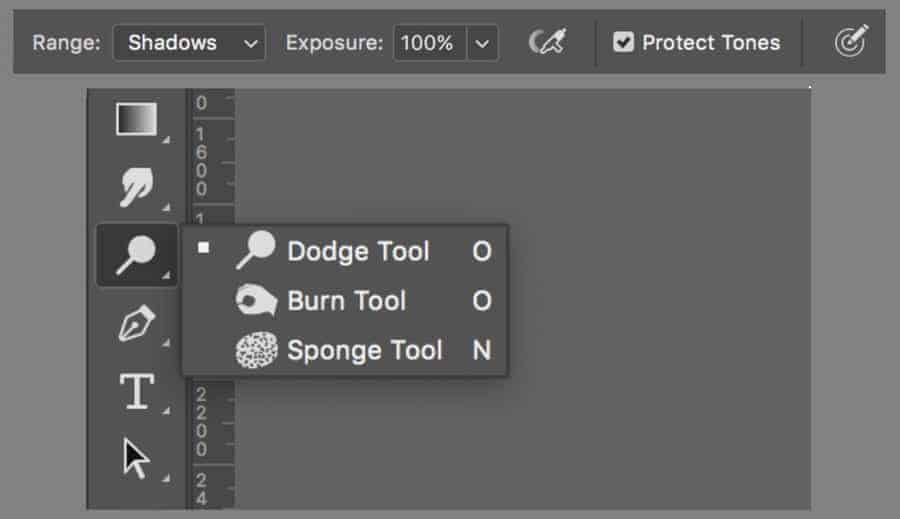
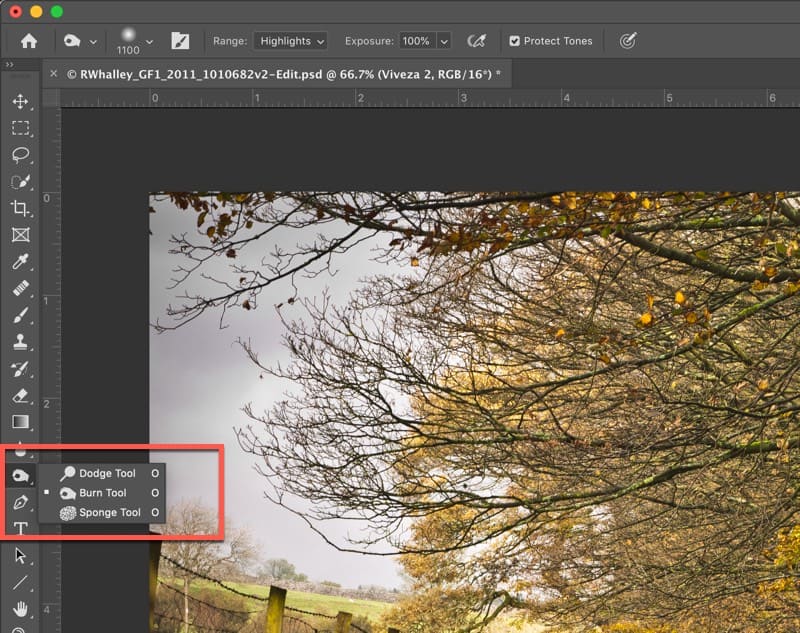
Burn and dodge tool not in toolbox ozcanu37614298 Community Beginner , Jun 20, 2022 I use win 10, now all the sudden the dodge and burn tool are not in my toolbox anymore, you know where the sponge tool sits. Normally I can right-click for a dropdown menu, but not anymore. There ain't nothing there.
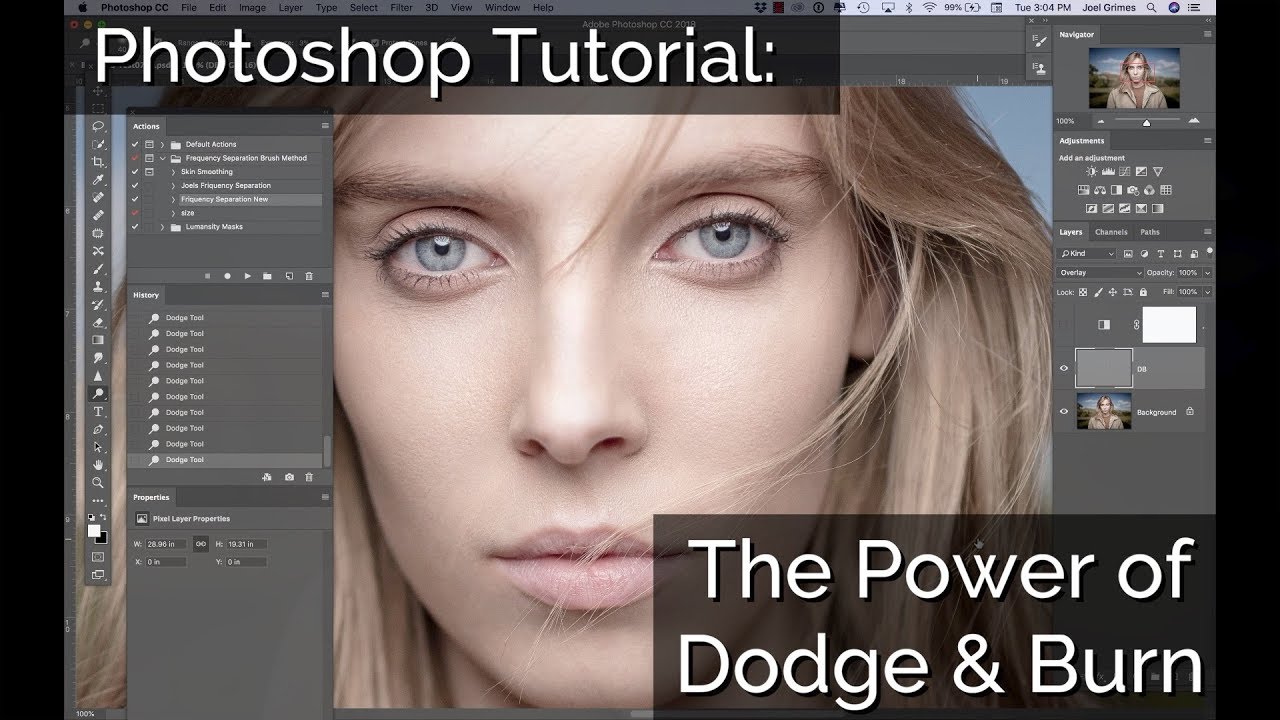
Tutorial The Power Of Dodge & Burn Photography Blog Tips
Dodging and Burning is a great technique to help inject interest and life into your photography. Even relatively small adjustments with the Photoshop Dodge and Burn tools can create a remarkable improvement. You can see the result of my Dodging and Burning, together with selective saturation increases below.
Simple Dodge & Burn Technique in Dodging and Burning
The techniques, however are new; Photoshop opens up new possibilities with its powerful brush and adjustment tools that the masters of old would have killed for. There are 3 main reasons to dodge and burn: Lead the viewers eye with darks/lights, bring out details in photos and add depth and dimension. You will learn all three methods.
Dodge And Burn Tutorial Cs6 nycprintdesign
To work with the Dodge tool and Burn tool, do the following: Tap the Dodge tool from the toolbar or long press the Dodge tool to reveal more tool options and select the Burn tool. In the floating tool options bar that opens, c hoose a brush size, exposure, and hardness for dodging or burning.
How to Use the Dodge and Burn Tool in PSD Stack
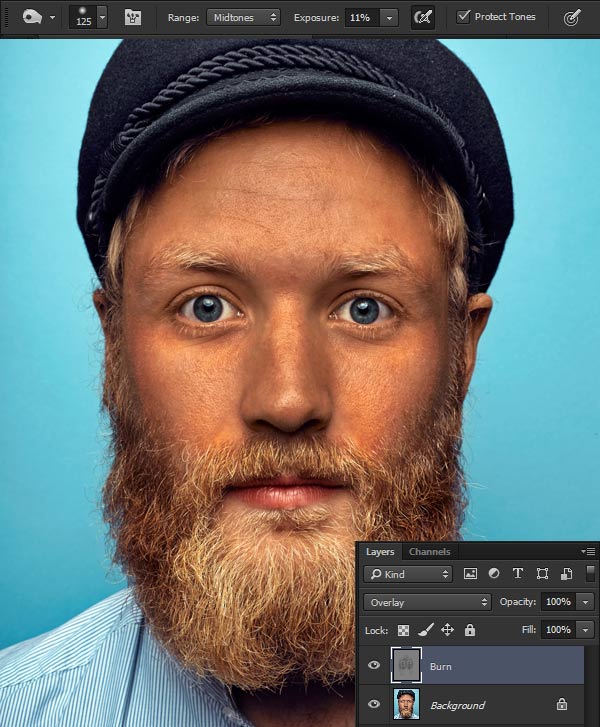
Tutorial Resources Girl Man Step 1 - Accessing Dodge and Burn Tool Basically, this tool Lightens = Dodge and Darken = Burn the areas of the image. It also gives more control over the specific areas of the image as you can target shadows, midtones and highlights with different exposure settings.
How to use Dodge, Burn and Sponge Tool CS6 YouTube
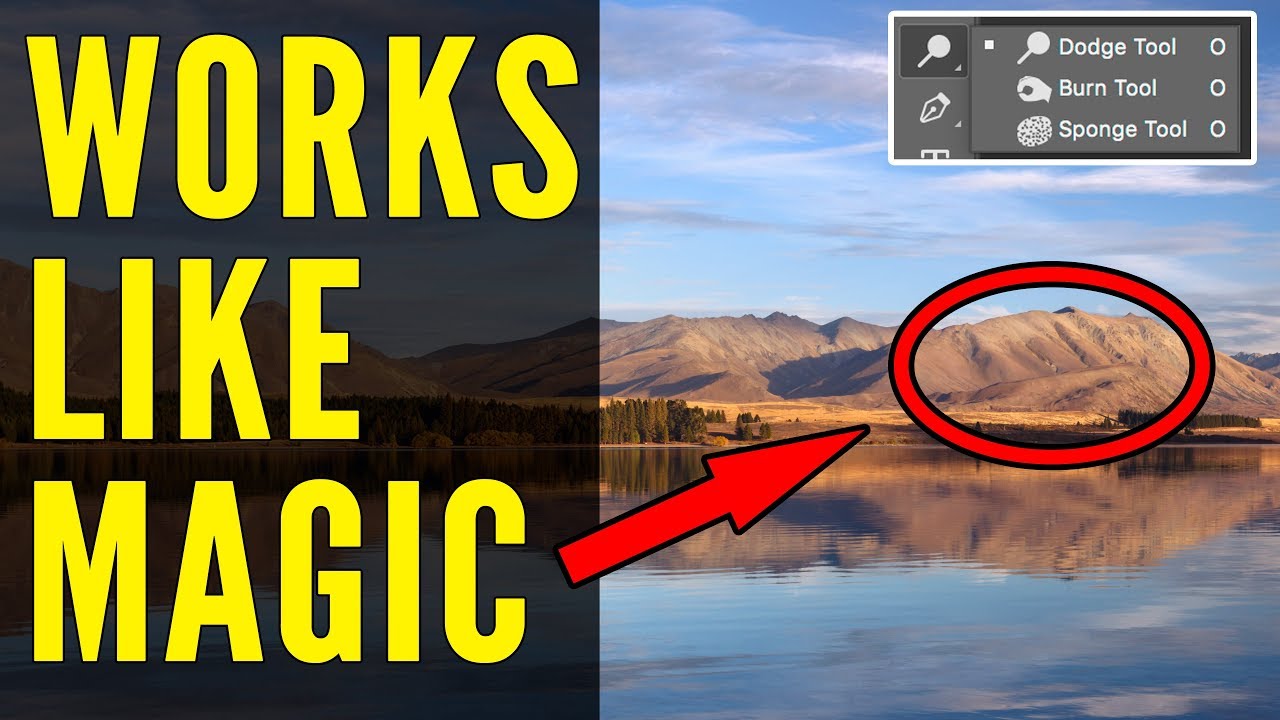
The Dodge and Burn tools in Photoshop are the digital versions of these techniques and are often used to either lighten underexposed areas of a photo or darken overexposed areas. As useful as the Dodge and Burn tools are, however, they both suffer from a serious problem.
Dodge and Burn Tool Tutorial My 1 Technique for making
To Dodge is to lighten an area of your picture, to Burn is to darken an area. Digital dodge-and-burn techniques are based on the method photographers use in the traditional darkroom: blocking light from the enlarger (or 'dodging' the light) to create a less-exposed, and therefore brighter, area on the paper, and using more light (or.
Burn, dodge, tool icon
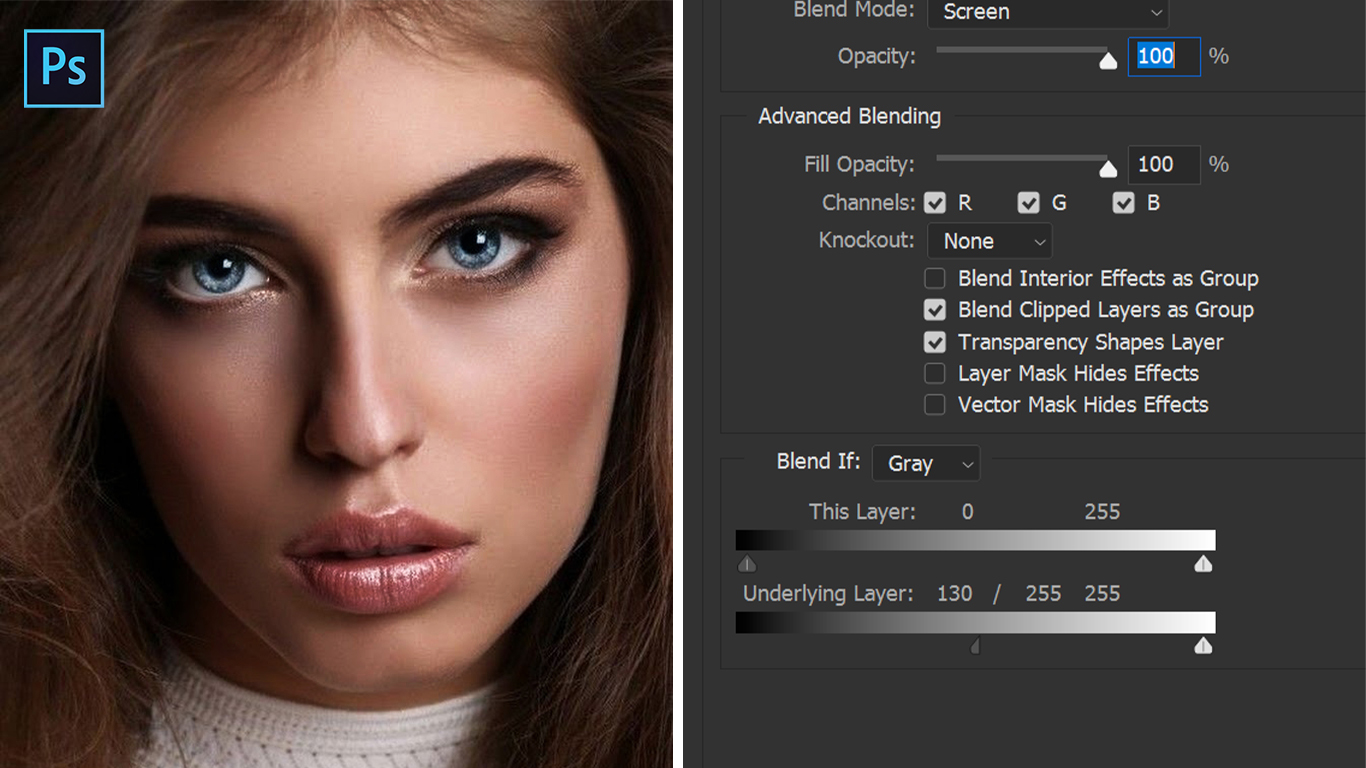
Step 1: Curves First, we'll bring back the highlights a bit. I also want them to look warmer. Click on the "Add fill or adjustment layer" icon and select "Curves". This will add a new layer, and the Curves panel will pop up. Open the RGB dropdown menu. Select "Red". Pull the top anchor point slightly to the left.

Simple Dodge & Burn Technique in Sculpting the Face by
1. Burn and Dodge tool. The most simple method of burning and dodging is simply to use the Burn and Dodge tools in Photoshop. To use these tools, simply select the tool you want to use, then set the brush you want to use and the range (Midtones, Shadows or Highlights) from the options bar.
Dodge And Burn Tool In BaponCreationz
0:00 / 9:55 Introduction How to Dodge & Burn in Photoshop | Day 17 PHLEARN 2.14M subscribers Join Subscribe 123K views 3 years ago Every Photoshop Tutorial - Day 17 of 30 Days of.
Mastering the Dodge and Burn Tools Lenscraft Photography
One such powerful tool (often underused in Photoshop) is the Dodge tool and its companion Burn tool. So let's take a closer look. Note: I use the Windows version of Photoshop. If you are using a Mac, the workspace will look slightly different from the screenshots displayed here. Table of Contents What is the Dodge Tool in Photoshop

Dodge, Burn and Sponge tool in (Lesson 19)
Here's how to dodge and burn with both Luminar AI and Luminar 4. Click on the Pro Tools icon and choose Dodge and Burn from the menu. In the top toolbar, choose either Lighten or Darken. Next, adjust the size and feathering of the brush (also in the top toolbar). Remember, a soft brush is best when dodging and burning.
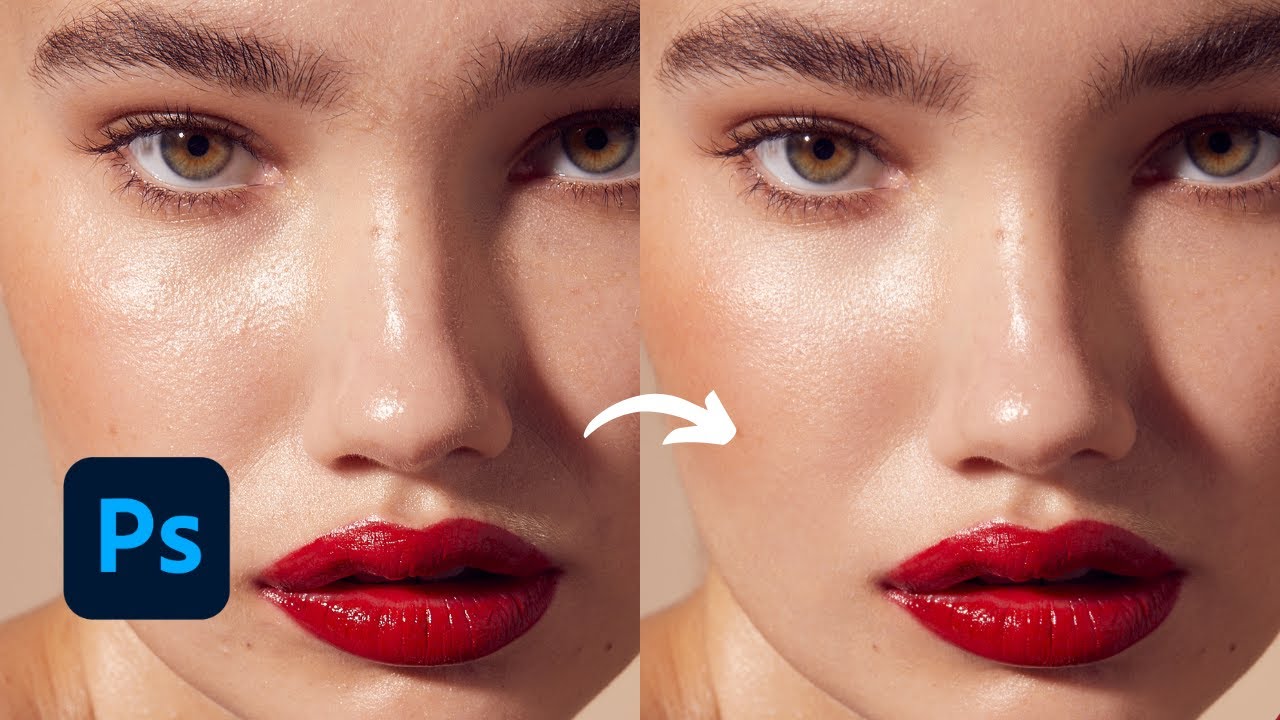
How to Dodge and Burn in [2023 Updated Skin Retouching
What Is Dodge & Burn In Photoshop? In Photoshop, the Dodge Tool lightens specific areas of your image, while the Burn Tool darkens certain areas of your image. These tools can be used together to selectively increase contrast and help draw attention to certain parts of a photo.

Dodge & Burn Tool Tutorial YouTube
Dodging and burning are photo editing techniques where you selectively brighten (dodge) and darken (burn) different areas of your image. It allows you to control what people will see first and generally make your images look cooler. Let's look at how to do it. Related: What Are Dodging and Burning in Photography?